本篇使用IDEA快速创建一个最基础带访问接口的Spring Boot项目
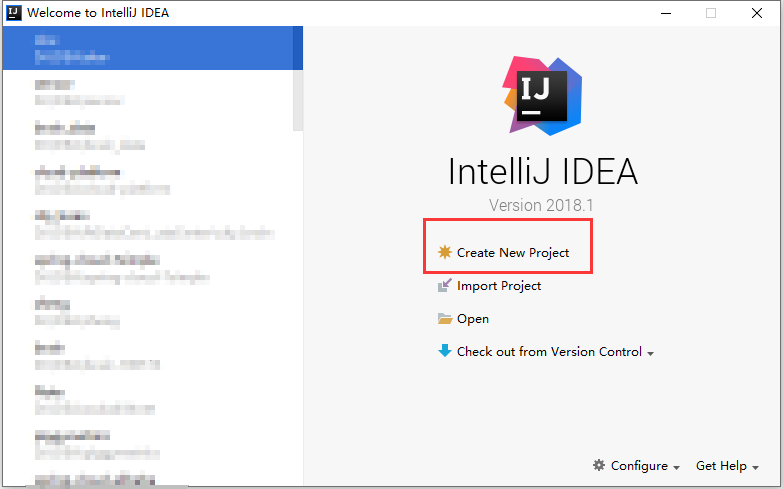
点击Create New Project按钮
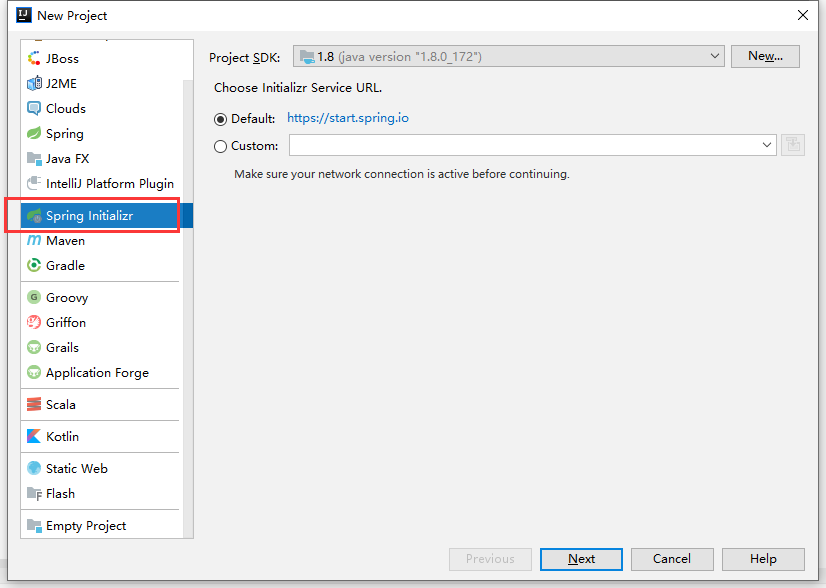
选择Spring Initializr选项,Project SDK选择一个本地的,没有的可以自行配置
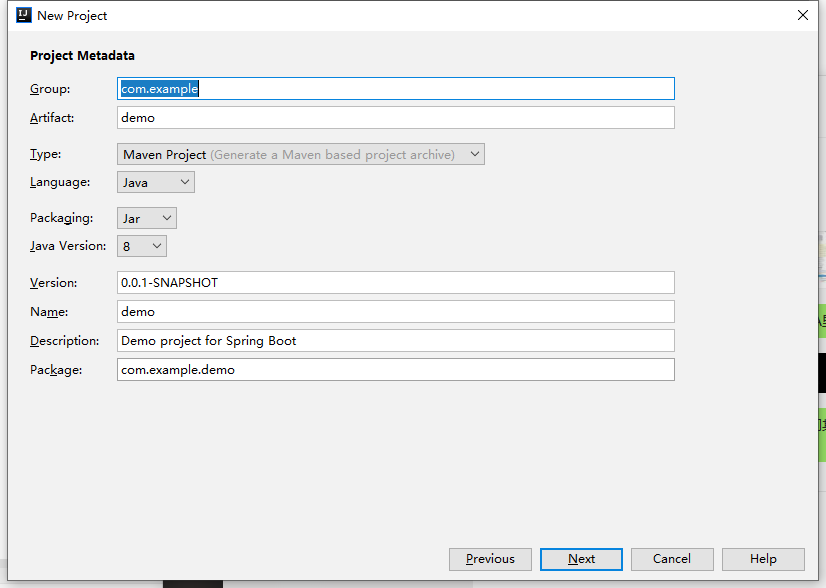
按自己的意愿选填各种参数
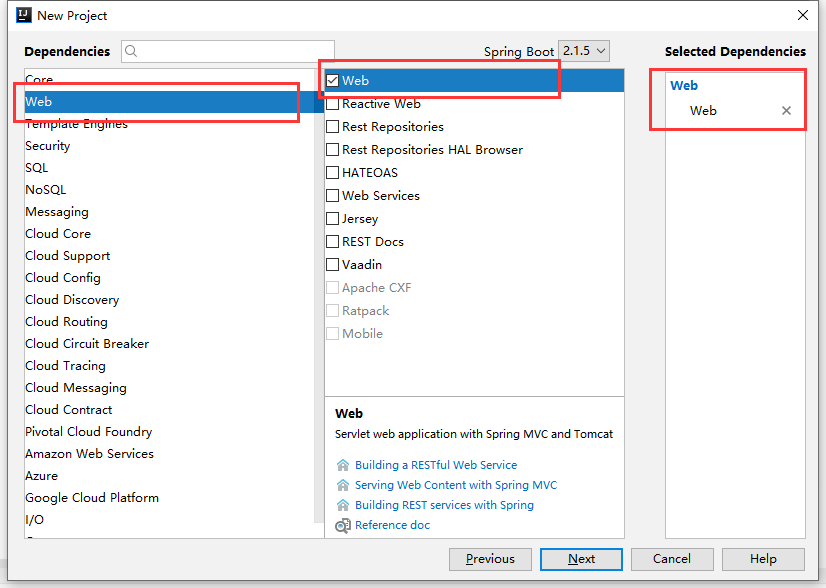
勾选上Web的依赖上面还能选择Spring boot的版本,这里默认的Spring Boot版本是2.1.5
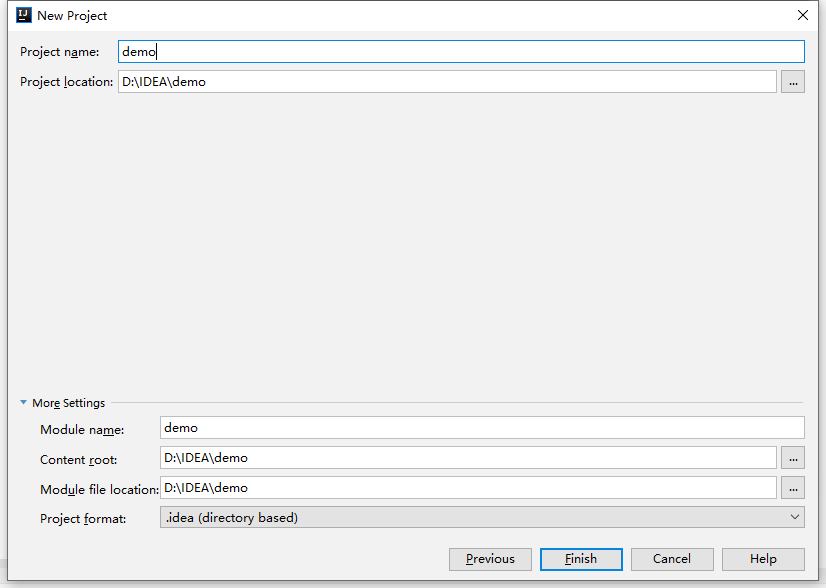
给项目起名字和放到自己想放的目录
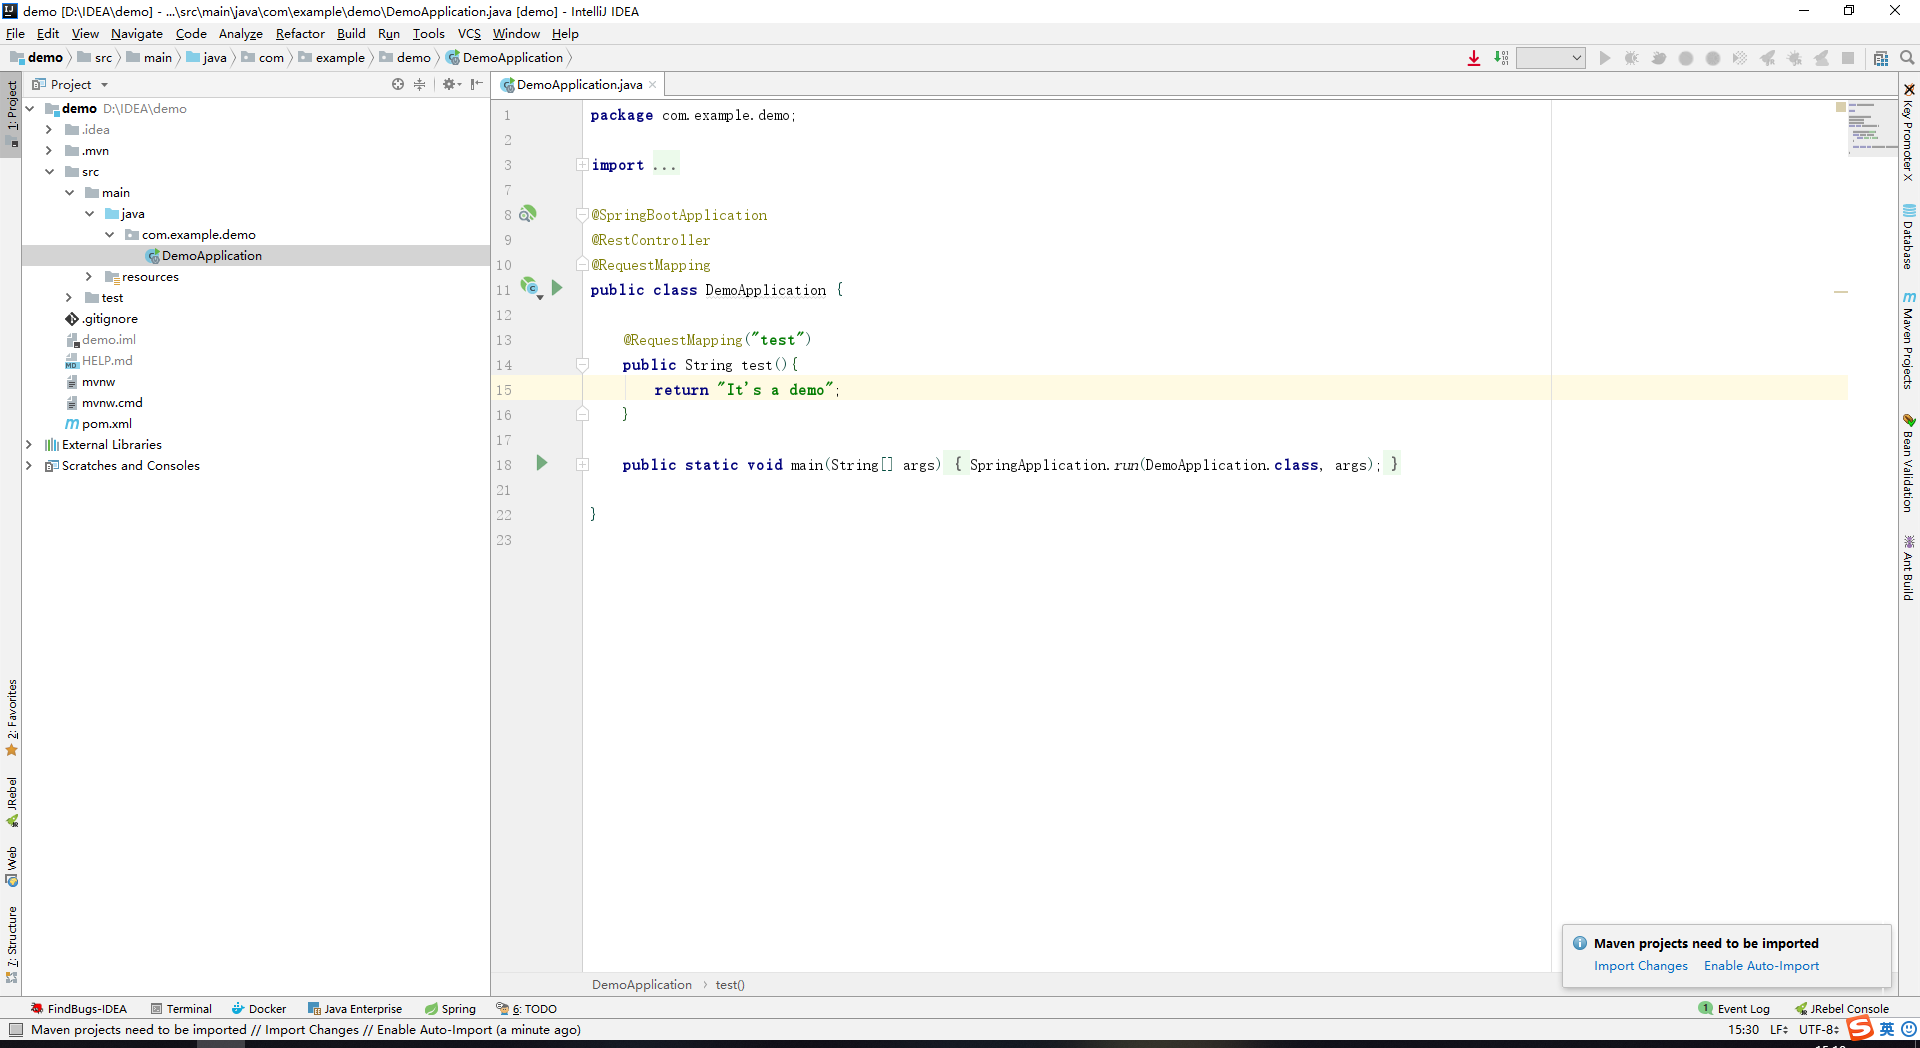
在启动文件中加个接口内容是
package com.example.demo;

import org.springframework.boot.SpringApplication;
import org.springframework.boot.autoconfigure.SpringBootApplication;
import org.springframework.web.bind.annotation.RequestMapping;
import org.springframework.web.bind.annotation.RestController;

@SpringBootApplication
@RestController
@RequestMapping
public class DemoApplication {

    @RequestMapping("test")
    public String test(){
        return "It's a demo";
    }

    public static void main(String[] args) {
        SpringApplication.run(DemoApplication.class, args);
    }

}
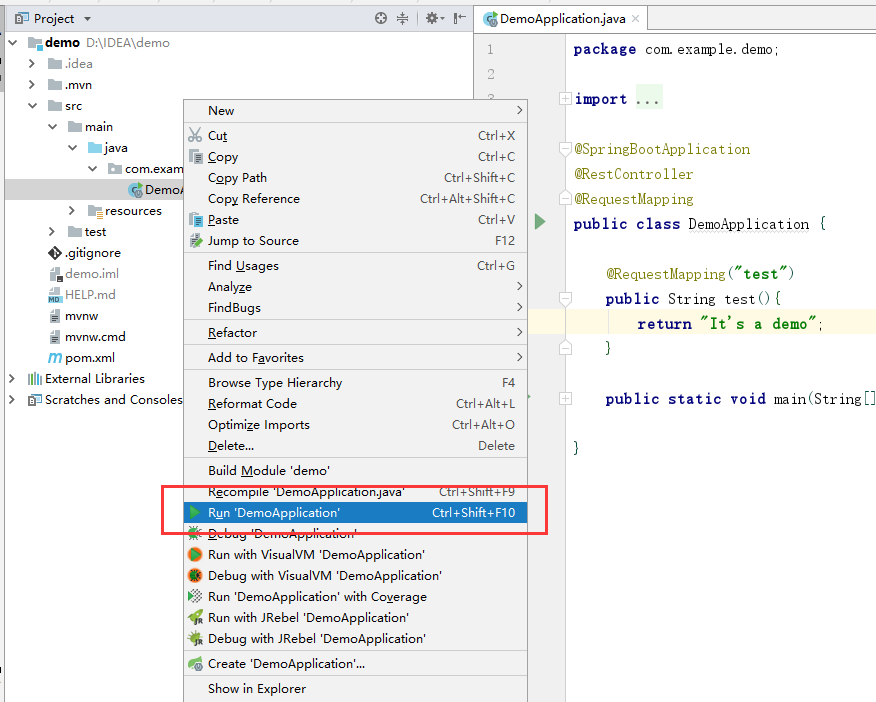
右键启动文件RUN启动项目
访问接口 http://127.0.0.1:8080/test


